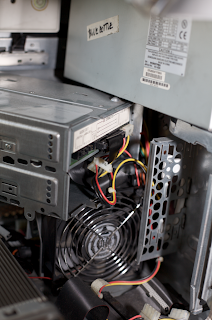
The difference between this and the G5's is that the Power supply case is much smaller. But otherwise could still hold an ATX power supply's innards.
Because my friend has waited over a year for me to arrive (from overseas), we decided to use a good quality name-brand power supply that is rated more than the original. We settled with a Thermaltake Litepower 600w ATX power supply.
After opening up the power supply. I realized that the board is not going to fit easily without any mods, because the heatsinks are made taller than the Apple power supply case. Most probably this is done for better airflow. So in the meantime I proceeded to take the Power Supply apart and desoldered all the wires from the original power supply.
After that, I found a pinout on this site that showed exactly what I needed. I cut the wires on the Thermaltake and soldered the original wires to the remaining wire. This allowed some room to move the wires around so that the original wires can exit through the original hole.
At this point we wanted to test the Mac just to be sure it is still working and that all this trouble isn't for naught.
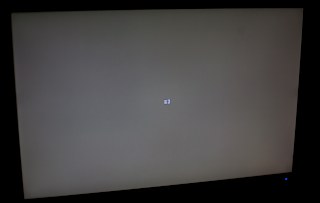
After plugging it in and using my ADC to DVI cable, we were greeted by the startup "jeng" sound and this appeared on the attached monitor:
Well, we had no hard disks but this is much farther than it ever got on the old power supply. The next step is to mod the heatsinks so that it will all fit into the original enclosure. After that we tie the cables neatly into bundles with zip tie and put it back into the original case. We cut some loose cintra boards and used double sided tape to attach them under the board to protect it from shorts.
Then finally mount it into the tower case.
Most of the stuff works. The 2 things that doesn't are: The ADC port cannot power an external ADC display anymore. The Firewire ports don't have power (Not sure if a self-powered firewire device would work). This is because ATX does not have the 25v needed for those 2 to function. If we add a 25v power supply (into the empty space in the power supply) we should be able to get these working again.


1 comment:
Post a Comment